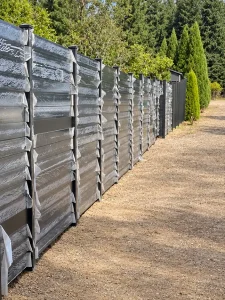
Aluminum Fence Installation Guide: Posts, Panels, Slopes & Gates
Plan your aluminum fence installation from the first measurement to the final gate check. This practical guide helps homeowners, contractors and project buyers coordinate layout, mounting details and a complete fence supply package.
Read the Installation StepsParla del tuo progetto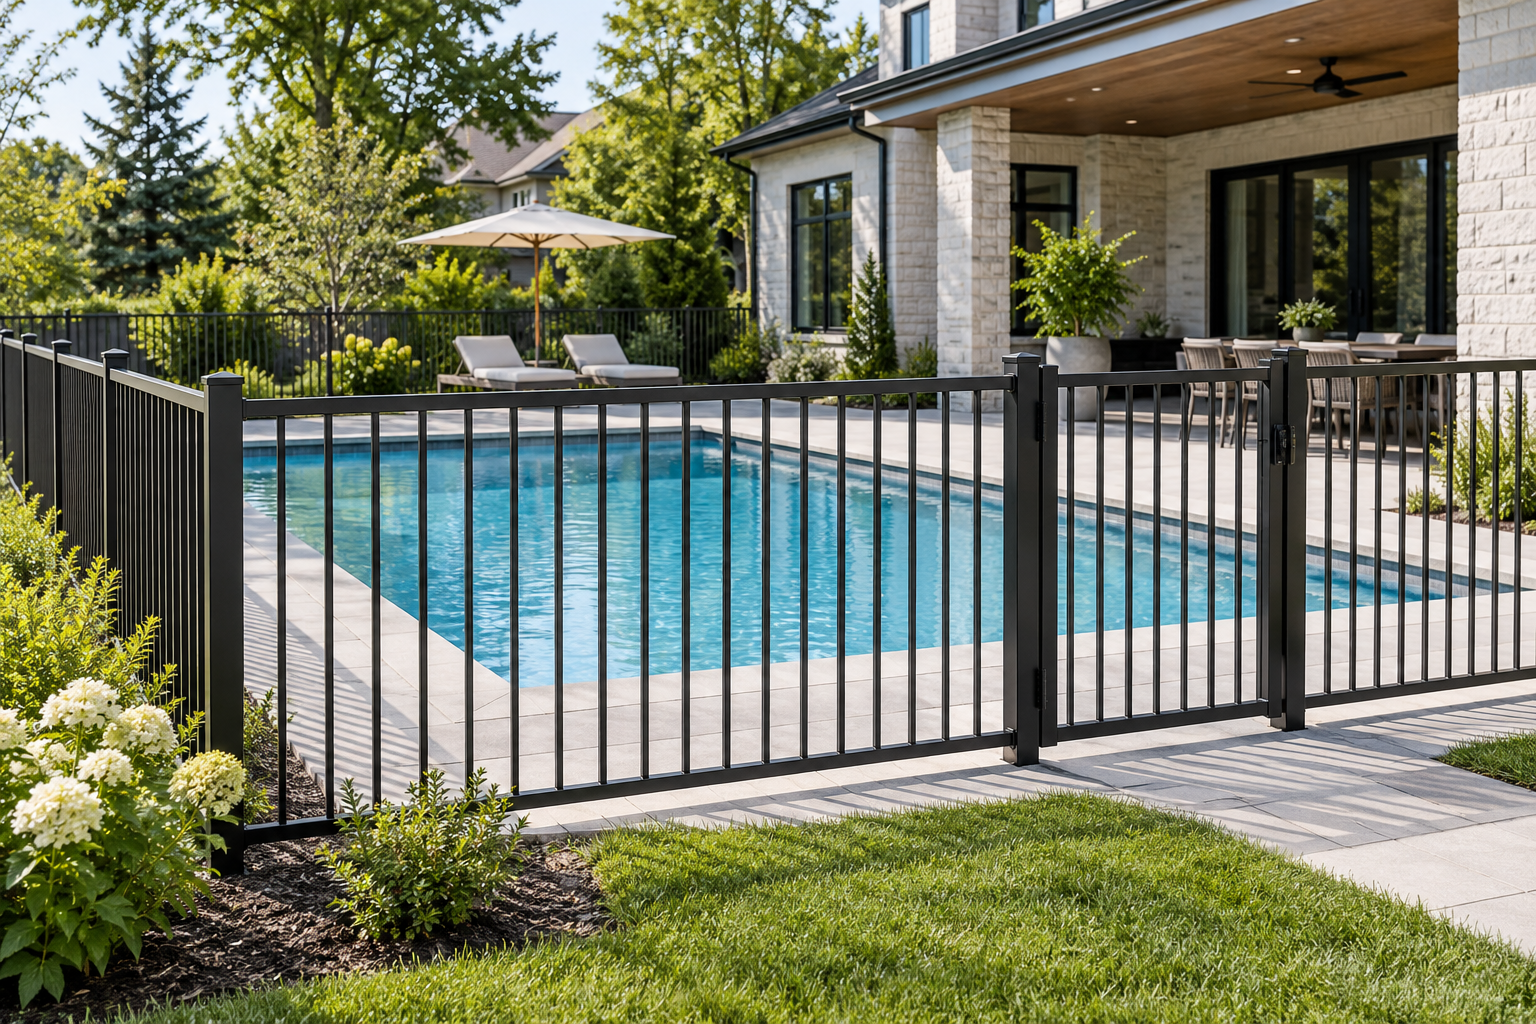
Before You Start: Turn Your Site Plan into an Installation Plan
A successful aluminum fence installation begins before the first post is positioned. Walk the boundary and mark corners, entrances, changes in ground level and connections to existing structures. Record each straight run separately. A single total length is rarely enough to order the correct panels and accessories.
Confirm the property boundary and any required permissions with the appropriate local parties. Arrange utility locating before excavation or drilling; an old plan alone may not show every buried service. Identify irrigation, drainage and private services as well as public utilities.
Keep the approved order drawing, component schedule and hardware instructions available on site. This guide explains the planning and installation sequence; actual post spacing, foundations, fasteners and gate clearances must follow the selected system and project requirements.
Aluminum Fence Installation Tools and Materials
| Task | Typical Equipment or Materials | Planning Note |
|---|---|---|
| Setting out | Tape measure, string line, stakes, marking tools and level | Use a consistent reference line and record finished levels. |
| Excavation | Suitable digging equipment and required protective equipment | Locate services and assess ground conditions first. |
| Dopo l'installazione | Specified posts, bracing and foundation materials | Follow the approved embedded or base plate detail. |
| Panel fixing | Compatible brackets, fasteners, drill and controlled-torque tools | Use the correct bit, fixing location and tightening instruction. |
| Gate installation | Specified hinges, latch, stops and lifting/support equipment | Review the gate weight and hardware instructions. |
| Finishing | Soft cleaning materials, approved caps and repair materials | Protect coated surfaces and remove metal debris promptly. |
Check the packing list before starting. Separate end, corner, line and gate posts where these differ. Count brackets, caps and hardware, and identify any special panels by their drawing reference. Keep parts on padded supports rather than dragging them over concrete or soil.
Choose Embedded Posts or Base Plate Posts
The mounting method should be selected before the order is finalized. The right choice depends on the support structure, loading, ground conditions and appearance required. Browse our aluminum fence posts to discuss the available configurations.
| Post Configuration | Installation Considerations |
|---|---|
| Pali in alluminio incassati | Confirm total post length, required embedment, foundation dimensions, drainage and finished height. Soil and frost conditions can affect the design. |
| Base plate aluminum posts | Confirm the supporting concrete or structural substrate, anchor design, edge distances, embedment and base plate bearing. Paving units alone are not an assumed structural support. |
| Gate posts | Review hinge and operating loads separately. A fence line post is not automatically suitable as a gate support. |
| Reinforced posts | Confirm the approved internal reinforcement and corrosion protection details, including how dissimilar metals are isolated where required. |


Step 1: Set Out Fence Lines, Corners and Gate Openings
Start with the locations that cannot easily move: property corners, existing walls, building connections and gate openings. Establish a reference string line and verify the planned fence position against the site drawing. Measure each run again before marking intermediate posts.
Divide the run using the actual installation module. Where a remainder exists, discuss balanced end bays or a custom-width panel instead of discovering a short final gap after most posts are fixed. Check how brackets and post faces affect the usable opening.
Understand Three Different Widths
- Panel width: the manufactured panel dimension shown on the drawing.
- Clear opening: the distance between the relevant post faces or supports.
- Post-center spacing: the distance from the center of one post to the center of the next.
For example, a product described as an 8ft panel does not automatically require posts at 8ft centers. Confirm which measurement the product drawing uses and include the specified connection allowances.
Step 2: Prepare Foundations or Structural Fixing Positions
For embedded posts, excavate to the dimensions specified for the installation. Do not select hole depth or diameter from a generic online guide: privacy panels, exposed sites, weak soil and gate supports may require different designs. Confirm the necessary post length before cutting or placing any components.
Check the excavation for unsuitable material or unexpected services. If conditions differ from the design assumptions, stop and resolve the foundation detail before proceeding. Maintain the specified cover and geometry around any reinforcement or post components.
For base plate posts, inspect the support surface and confirm the approved anchor positions. Check substrate thickness, condition, edge distances and concealed reinforcement or services before drilling. Follow the anchor manufacturer's instructions for hole preparation, installation, curing and tightening as applicable.
Do Not Substitute an Unapproved Mounting Method
A post intended for embedment is not automatically a driven post. Likewise, fixing a base plate to a deck board, thin topping or masonry cap does not establish a structural load path. Resolve the support arrangement for the actual fence and substrate.
Step 3: Position and Brace the Posts
Confirm post orientation before setting each support. Routed openings, bracket faces and gate hardware positions must face the correct direction. Check the top level and the finished height against the drawing, allowing for the final ground or paving level.
Use a level on two adjacent faces to check plumb, and keep the post aligned with the reference line without pushing the string out of position. Brace the post as needed while the foundation is completed. Recheck position during placement, since filling and compaction can move an unsupported post.
Follow the specified concrete placement and curing requirements. The time before loading depends on the concrete, weather and required strength; a generic overnight waiting period is not an installation specification. Keep panels and gates from applying loads before the supports are ready.
Step 4: Fit Aluminum Fence Panels and Connections
Check one trial bay against the drawing before repeating the installation along a long run. Verify opening width, panel elevation, ground clearance, bracket alignment and the appearance of the finished connection.
For bracket-mounted systems, place brackets at the specified positions and use the agreed fasteners. For routed-post systems, follow the insertion and securing details supplied for that product. These are different connection methods and should not be treated as interchangeable.
Support panels during fitting so their weight is not carried by partly installed fixings. Tighten using the specified procedure; excessive tightening can damage thin sections or strip threads. Check adjacent bays regularly to catch cumulative alignment errors early.
Cutting Panels on Site
Only cut a panel where the selected design and supplier instructions permit it. Cutting may affect the joint, reinforcement, finish or warranty conditions. Confirm the permitted cut location and treatment of exposed edges, remove burrs and metal chips, and keep debris away from coated surfaces.
Confronta recinzione a doghe orizzontali e vertical slat fencing when planning the installation; frame arrangements and connection details can differ.
Step 5: Plan Aluminum Fence Installation on Sloped Ground
| Approach | How It Works | What to Confirm |
|---|---|---|
| Stepped panels | Panels remain level while successive bays change elevation. | Post heights, bracket locations and the larger gap beneath the downhill side. |
| Racked panels | An expressly designed panel adjusts to follow the slope. | Permitted angle, connection movement and any change in effective opening. |
| Custom panels | Panels are manufactured for a surveyed geometry. | Verified site dimensions, orientation and individual panel labels. |
Do not force a welded privacy panel into a racked shape. Confirm whether the selected product can rack and within what limits. Where stepping creates a large bottom gap, review the result against the intended containment, privacy or pool-barrier requirements.
Survey the rise and horizontal run of each sloping section and mark transitions on the drawing. A single slope estimate for the whole property may hide a sharp change at an individual bay.
Step 6: Install Matching Aluminum Gates
Gate planning belongs at the layout stage, even if the gate is fitted later. Agree on the finished clear opening, leaf dimensions, hinge allowance, latch allowance, ground clearance and opening direction before installing gate posts.
Once the supports are ready to carry the load, support the gate leaf and position the hardware according to its instructions. Check movement through the full intended travel, including over sloping paving. Fit the specified stops and check that the latch engages without lifting or forcing the leaf.
For double gates, confirm the meeting clearance, active leaf and any drop-bolt receiver positions. For sliding or automated gates, use a dedicated installation plan covering structural supports, travel zones, guides, stops and the selected operator's safety requirements. Fence-panel instructions do not replace gate automation instructions.
Browse WONDERFUL METAL aluminum gates and send gate details with the fence inquiry so the entrance can be coordinated with the boundary.
Privacy Fences, Pool Barriers and Exposed Sites
Aluminum Privacy Fence Installation
Closed or closely spaced infill changes the wind loading compared with open fencing. Review panel span, post strength, connections and foundations as a complete system. Tell the designer about open terrain, coastal exposure and changes in ground level before approving the layout.
Pool Fence Installation
A pool barrier needs a site-specific compliance check. Confirm the applicable requirements for height, openings, ground clearance, climbable surroundings and gate operation with the local authority or qualified installer. Recheck the completed barrier after landscaping and paving are finished. Explore our aluminum pool fence range during product selection.
Coastal and Dissimilar-Metal Connections
Specify compatible fixings and isolation details where different metals meet. Follow the finish and maintenance instructions for the exposure conditions, and avoid trapping debris or moisture around connections. Installation damage should be assessed and addressed with an approved method.
Common Aluminum Fence Installation Problems
| Problem | Likely Planning or Installation Issue | Action |
|---|---|---|
| Panel does not fit | Nominal width used instead of the actual opening dimension | Check the drawing and connection allowance before moving or modifying components. |
| Fence line drifts | Small errors accumulate between bays | Recheck against the independent string line and site reference points. |
| Gate rubs or will not latch | Post movement, incorrect clearances or uneven supports | Check support condition and alignment before adjusting hardware. |
| Posts move | Foundation, anchor or substrate differs from the approved design | Restrict use and have the support arrangement assessed. |
| Coating is scratched | Parts dragged, stacked without protection or left with metal debris | Improve handling and use the approved repair or replacement procedure. |
| Bottom gap is excessive | Ground profile or future paving level was missed | Review the panel layout and intended barrier function before completion. |
Final Inspection and Handover Checklist
- Check post alignment, finished heights and panel spacing against the approved layout.
- Verify all specified connections and fasteners are installed and checked using the required procedure.
- Confirm gate travel, stops, latch engagement and any required closing function.
- Inspect caps, exposed edges, coated surfaces and any installation repairs.
- Check ground gaps and interfaces with walls, paving and landscaping.
- Remove swarf, packaging and temporary supports when appropriate.
- Record photographs, component references and maintenance instructions for handover.
Clean finished surfaces using the supplied care guidance. Avoid abrasive cleaning or aggressive chemicals. Periodically inspect supports and gate hardware, particularly after impacts, ground movement or severe weather.
Order an Installation-Ready Fence Package
WONDERFUL METAL supplies custom aluminum fence and gate systems. A useful order inquiry connects the product specification to the way it will be installed. Include a marked site layout, panel heights, run lengths, corners, slopes, mounting conditions and gate openings.
Ask the quotation to identify panels, post types, caps, brackets, hardware and any excluded site materials. For custom-width bays, label each location so the factory drawing, packing list and installation plan use the same reference.
Discuss delivery access and unloading equipment before shipment. Inspect packages on arrival and report discrepancies before starting installation. Keep finish samples, drawings and revision records together for future replacement or extension work.
See our 8ft × 6ft vertical aluminum fence panels for one product configuration, or visit the project reference page for additional context.
Aluminum Fence Installation FAQs
How far apart should aluminum fence posts be?
Use the approved installation drawing for the selected panel, post and connection system. Panel width, clear opening and post-center spacing are different dimensions.
How deep should aluminum fence posts be installed?
Required embedment and foundation size depend on the structural design, ground conditions, exposure and applicable local requirements. There is no single depth suitable for every aluminum fence.
Can aluminum fence posts be fixed to existing concrete?
Base plate posts may be suitable if the concrete and anchor arrangement are verified for the design loads. Confirm substrate condition, thickness, anchor details and edge distances.
Can every aluminum fence panel follow a slope?
No. Racking requires a panel and connection system designed for that movement. Rigid panels may need a stepped or custom arrangement.
Can I install the fence myself?
Review the actual system instructions and your ability to survey, excavate, set supports and handle panels safely. Use appropriate professionals for structural design, difficult ground, regulated barriers and powered gates.
When can a gate be hung after concrete is placed?
Wait until the support has reached the specified condition for loading, based on the foundation design and concrete instructions. Temperature and curing conditions affect the timing.
Are posts and installation hardware included?
Inclusions follow the order quotation. Confirm the type and quantity of every component, and identify foundations, anchors or other items supplied locally.
Posso ordinare recinzioni su misura e cancelli abbinati?
Send the layout and required dimensions for review. Final panel sizes, gate details and support requirements are confirmed before production.
Plan Your Aluminum Fence Installation with WONDERFUL METAL
Send your site drawing, preferred fence style, panel heights, mounting method, gate requirements and delivery destination. We can review the product supply scope and prepare a quotation around your confirmed project details.
Richiedi un preventivo per recinzioni e cancelliE-mail: [email protected]